- Installation
- Administration
- Release Notes
- Resources
- Best Practices
- Hardware Documentation
- Supported Devices
- Hardware Default Settings
- Network Overview
- Demo Kit Quick Start Guide
- Section 260943: Wireless Network Lighting Control Specification
- Third Party Licenses
- Privacy Policy
- End User License Agreement
- End-of-Life Policy
- Vulnerability Disclosure Policy
- FAQ
SimplySNAP Lighting Installations
The SimplySNAP lighting control solution has excellent RF signal propagation thanks to the wireless mesh network design. However, this technology can experience problems when the antenna on a lighting controller is not installed correctly. This document will provide some best practices and tips for installing SNAP Lighting controllers to ensure clear and consistent RF communications.
Antenna Orientation
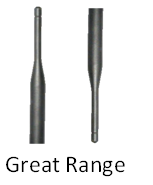
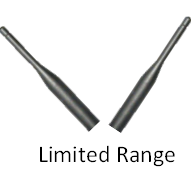
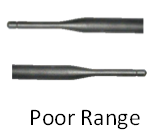
A SNAP RF module is at the heart of every SimplySNAP lighting controller, and the key for this system to provide robust wireless communications is correct antenna orientation. In a traditional wireless lighting application such as High Bay Fixtures, Parking Lot Fixtures, Street Lights, Troffers, and Decorative Fixtures, the antennas need to be vertically orientated for maximum range.
The tip of the antenna should point skyward or towards the ground. With this orientation, the horizontal distance between lighting fixtures can be maximized. RF energy travels in a donut pattern, and controllers work best when the “donuts” radiating from the antenna overlap. To help visualize the pattern, imagine the tip of the antenna is stuck through the hole of a donut. If the donuts cannot overlap, reception will be poor.
Where you mount the Antenna makes a Difference
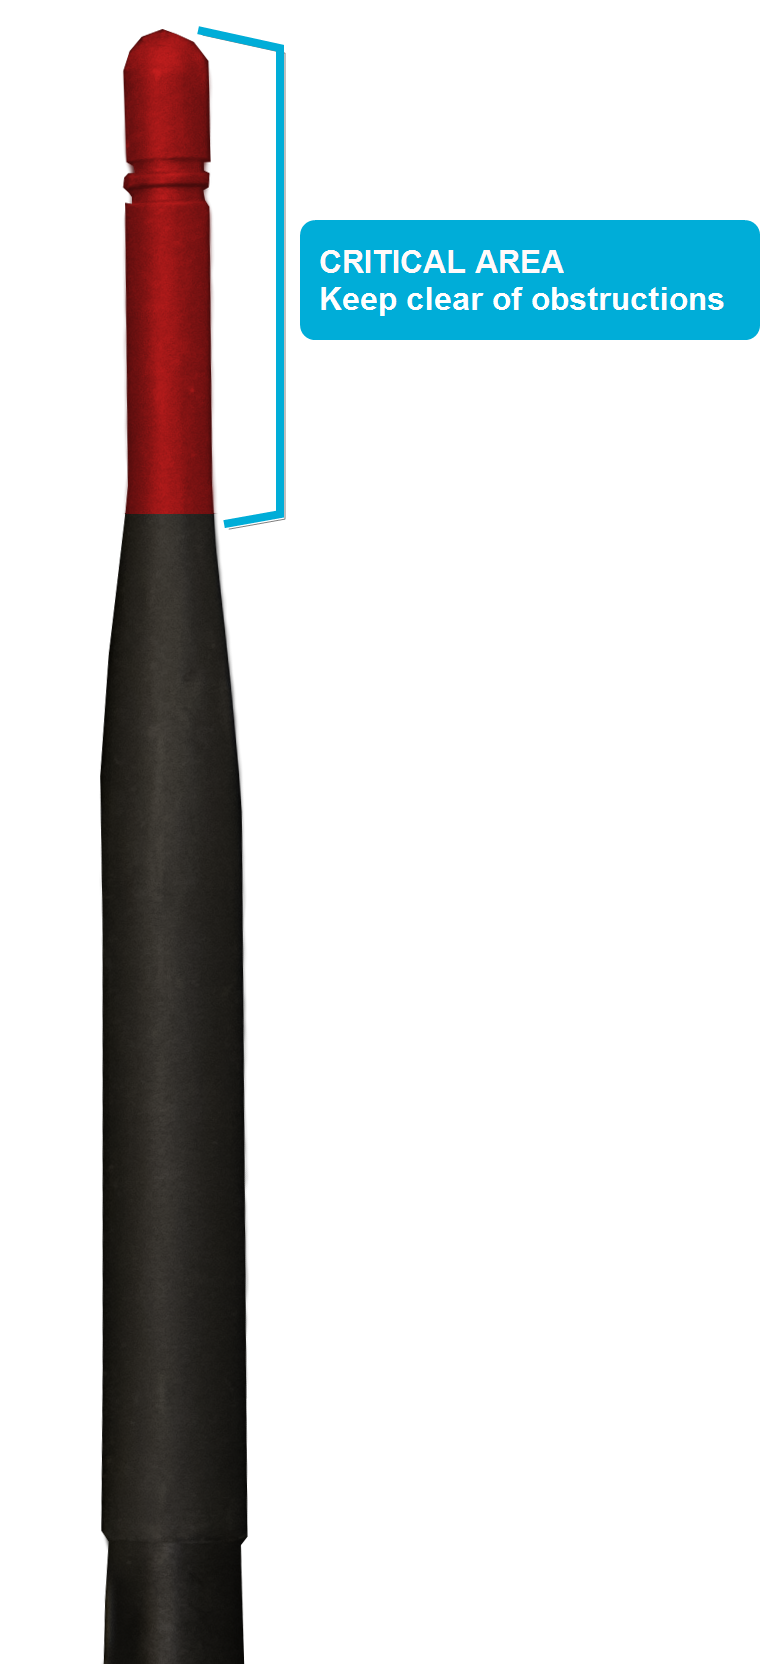
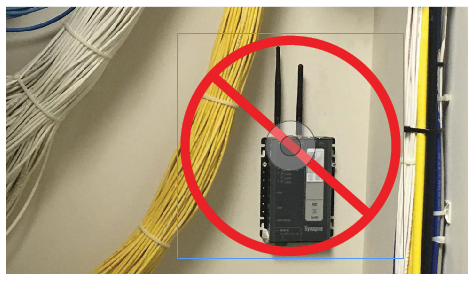
The business end of the antenna is the top three inches of the antenna, and it relies on free space around this section for best performance.
If possible:
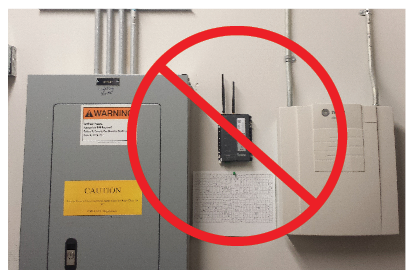
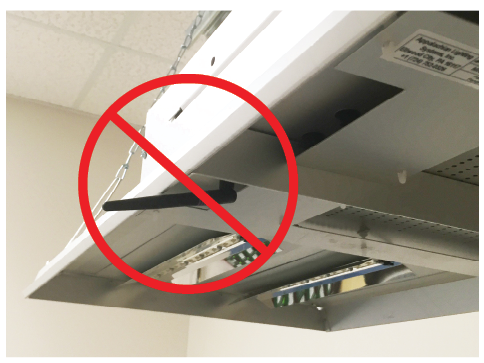
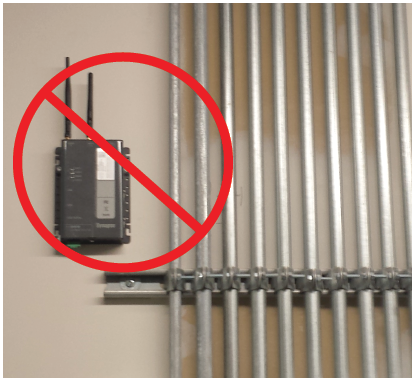
keep the tip of the antenna 3 inches from any surface such as walls, poles, and the eves of a building
keep the tip of the antenna away from conduit or metal
do not install an antenna inside a metal box
Good Things to Know
Always have some spares:
antennas
light controllers
cables
Make sure all cable and antenna RF connections are hand tight. Then tighten an additional quarter turn. Do not over tighten.
Make sure that all Light Controllers have an Antenna
Make sure all antennas are vertically oriented. They should either point at the sky or the ground
Make sure there is proper line of site between controllers
The controller’s RF signals can hop through other controllers to extend the wireless network mesh
Every lighting controller should have line of sight to two or more controllers
Use only approved RP-SMA antennas for each controller. Do not substitute antennas
Use only approved RP-SMA cables for each controller. Do not substitute cables
Verify all antennas are at least 3” from any surface
Make sure no RF cables are pinched or crushed
Visual inspection of the antenna should reveal no cuts, breaks, or damage to the antenna. If the antenna does show any of these symptoms, replace the antenna.
Use outdoor rated antennas for outdoor applications
Remember, the antenna is not a handle
If you try to carry a fixture by the antenna, it will break.
Wall Mounting a SimplySNAP Site Controller
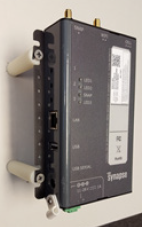
A SimplySNAP Site Controller needs to be mounted at least 3” off of a wall to allow the antennas to propagate and have an effective range. By just using spacers, the effective range increases by a factor of ten.
Here are some suggested mounting techniques for wall mounting the SimplySNAP Site Controller with spacers.
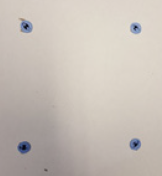
You will need:
4 - 4” exterior wood screws
4 – Wall Anchors
4 - 2 ½” nylon spacer – 13RSSR0324 (McMaster Carr)
Use the SimplySNAP Site Controller as a template by placing it on the mounting surface and using a pencil to mark four mounting holes. Remove the site controller and drill pilot holes at the marked mounting points with a drill bit appropriate to the surface and the mounting screws. (If you are mounting to sheetrock or concrete, be sure to also use anchors appropriate to the mounting surface.)
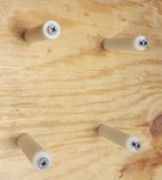
Next, insert each of the 4” wood screws through a nylon spacer and screw them into the pilot holes until they’re snugly attached. (Be careful to not over-tighten.) Once the spacer and screw assembly are attached, loosen the screw and slide the site controller in the gap between the spacer and screw. Tighten the screw until the site controller is snug against the spacer. (Do not over tighten.)
When mounting in a NEMA box, be sure to use DIN rails with appropriate spacers on the back panel. Do not use a metal mounting plate.
